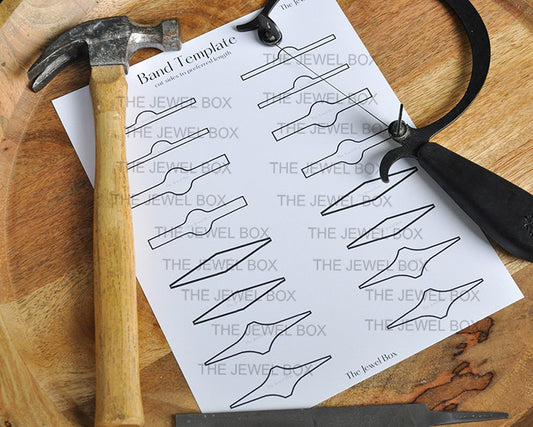
Guys!! I'm so excited to share that I have finally put together a little tutorial on how I use my ring templates to help create unique statement rings. I started designing my own jewelry stencils a few years back to use in my own ring making process and have recently made the ring templates available for you to use in your DIY jewelry projects as well! Made for the beginner or advanced metalsmith, I am obsessed with how these templates can up level your ring designs.
So, lets begin!

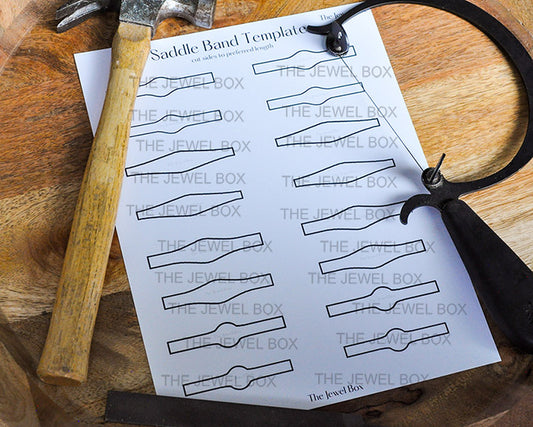
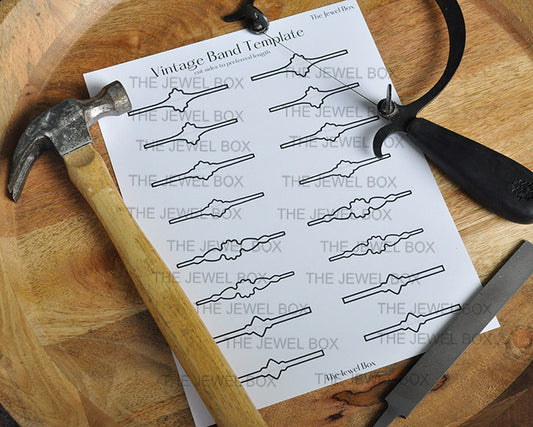
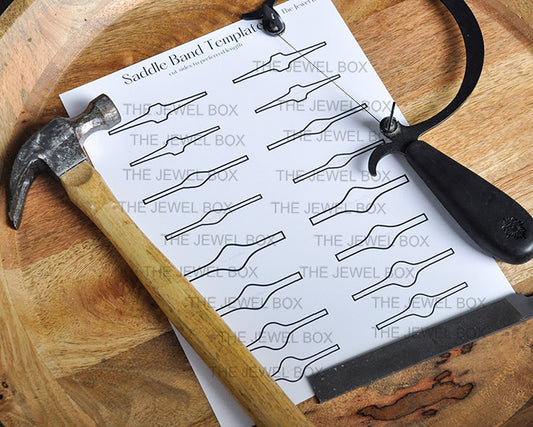
STEP 1. Choose which stencil you want for your ring. In this tutorial I'll be using a ring outline from my oval band template. You can get the same template HERE. Go ahead and cut out your desired band with a pair of scissors.

STEP 2. Choose your size. I'm making this ring a size 6.5 but the same steps apply for any size. I'm using calipers and a ring size ruler to do this. I got both the calipers and ring sizing ruler fro Rio Grande. Set your calipers at desired ring size.

STEP 3. Determine thickness of your sheet metal, take that thickness and multiply it by 3. eg. .85 x 3 = 2.55. (not pictured, but looking back I'd also recommend adding 1 more mm to your length to account for metal lost while sanding, filing, etc)


STEP 4. Add thickness from previous step to length of ring band, and then divide by 2. (eg. 2.55 + 53.20 = 55.75, then divide it in half to get 27.90) I roughly guesstimated the exact middle of the ring band stencil and then measured half of the ring band length on each side and cut off the excess on each side.


STEP 5. Use either crafters tape or double sided tape to adhere the bottom of your stencil to your sheet metal. Then you'll want to put clear tape over the top as well. Doing both helps your stencil not move around while sawing.
STEP 6. Saw out your band. I like to follow the outer edge of the black line, or the inner edge. This keeps things proportionate.

STEP 7. Time to file! I'm using a half round file here. File until you feel like your bands crooked edges are smooth and everything looks as proportionate as you'd like. Also remember to filed the ends flat so they're flush when it's time to solder.

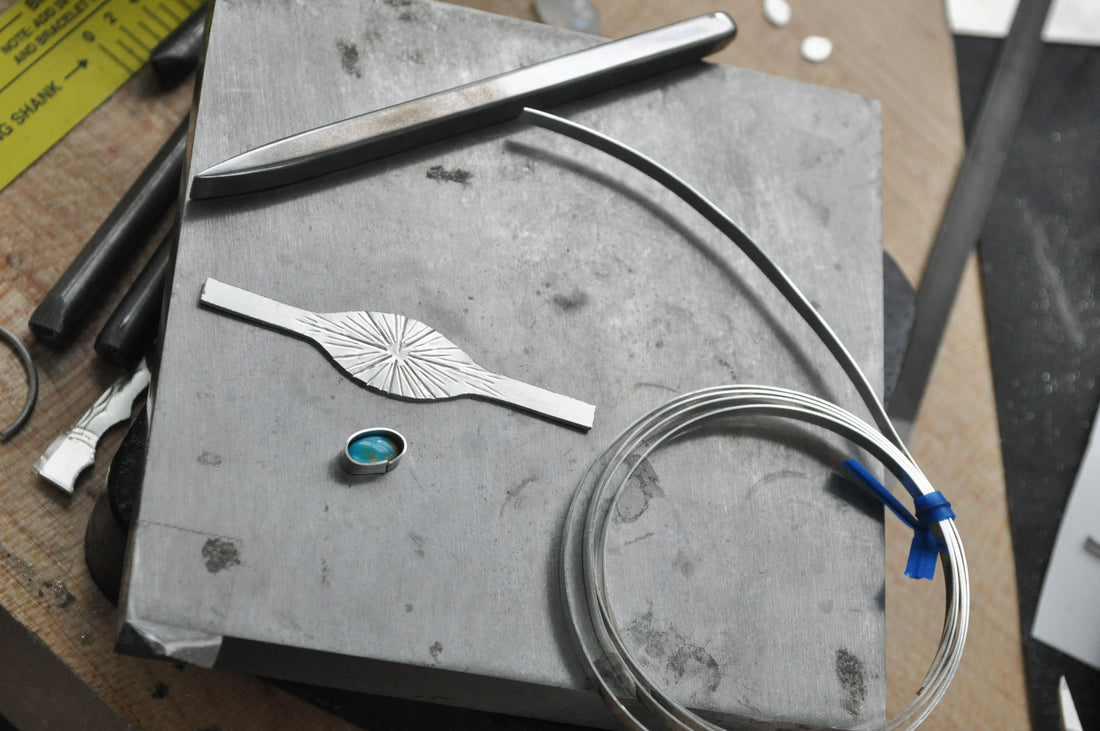
STEP 8. Pick out a design for your ring. I decided to use a line stamp to create a sunburst design. You may decide to leave yours blank.

STEP 9. Pick a stone (optional) for your piece. I'm using an oval piece of Campitos Turquoise. Go ahead and create your bezel for your stone. I made mine taller than the stone to account for the filing I'll be doing to match the curvature of the ring to the bezel.

STEP 10. Shape your ring. Hammer your ring onto your ring mandrel using a mallet. I recommend hammering it 2 or 3 sizes down from your desired ring size. This step doesn't have to be perfect, the most important thing is meeting the two ends so they are flush for soldering!


STEP 11. Solder your bezel cup, as well as your ring band, don't forget to use flux. Im using hard solder for both solder joints here as it is the first solder.


STEP 12. This is probably the most difficult step. We want to shape the bottom of our bezel cups to match the curvature of the ring to create a flush setting for soldering. Solder won't fill the gap so it needs to be flush to the ring band. I start by using a half round file to shape the underside of the bezel. Then I take a piece of 180-220 grit sandpaper and wrap it around my ring mandrel. I then gently sand it up and down to finish shaping it to the same curvature as the ring. I find that the longer the bezel is the more difficult this step is. If you are having trouble with this step you can always solder the bezel to a flat back plate and then solder it onto the ring band flat. It just will look a bit different. Also don't forget to hammer your ring on your mandrel to make it nice and round before soldering your bezel to it.


STEP 13. I like to use a pencil in the stamp impressions to stop solder from filling in the design I stamped. Try it out!

STEP 14. Time to solder the bezel to your ring. I'm using easy solder here because it's the last solder joint. I like to mainly torch from the bottom, remember to keep moving your flame around and heat the whole piece with a little extra heat to the spot you want to solder.

STEP 15. Clean up! Give your ring 5-10 minutes in the pickle pot and then use your favorite method to clean/remove any firescale.

STEP 16. Oxidize. You can use either black max or liver of sulphur to oxidize your piece to give it contrast.

STEP 17. Remove oxidization from high points. I love using radial discs on my rotary tool to do this.

STEP 18. Polish. Im throwing my ring in my magnetic tumbler for 30 minutes to give it a uniform polish.

STEP 19. Set your stone. My favorite part!! I'm using a bezel pusher and burnisher to set this piece of turquoise in the ring.

STEP 20. Wear (or gift or sell) your ring!! Good job! I hope you love how your ring turned out and remember practice makes perfect :)
If you're interested in checking out more templates for rings you can do so HERE.
And lastly, if you're wondering exactly were to begin tool wise, I have the perfect list of resources HERE. <3

